WHAT DID THE BONAM'S DO TODAY?
1. Entryway complete
2. (1) tree ring in the front yard done
3. Planted several pots of annuals PLUS added a birdbath to the frontyard.
4. Finished the fountain in the backyard
5. Fertilized each and every tree on our property
6. weeded and dead headed the gardens in the front yard.
7. Planted creeping thyme in the rock "garden" in the front yard
8. Blenderized moss to paint on several rocks around the property.
1. We finished our entryway by adding the "sidelights" to our door.
Have I mentioned that I love Big John's flea market in Joliet? If you are in the area, please check it out. With a little imagination and some elbow grease, you are sure to find something that you will love there.
http://bigjohnsfleamarket.com/
2. Finished (1) of the tree rings in front yard
Ok, so this ended up being a bigger project that I originally thought that it would be. After digging just one of the tree rings, we decided to postpone the 2nd until next weekend.
The grass is
so long in the front yard; it looks terrible, but we're not able to cut it yet as it was reseeded. We're trying to give it a chance to grow. It will be cut later this week, before we spray the lawn with weed killer.
3. Planted several pots of annuals
After finishing the tree ring, I stood up and realized that the bench in the front garden looked naked and was in desperate need of some flowers. We did a quick Menards run, and rushed home to get back to work.
4. Finished the fountain in the backyard.
 |
| We still have to hide some of the plastic around the edges, but it is (mostly) done. |
We'll show you the finished picture, but
go over the details of how it was made tomorrow. Because we are re-doing the pond area in the backyard, we needed to give the birds a moving (
safe) water source. Last year we had some birds drown in the fountain that we had. So, with a little creativity... we made this fountain for about five bucks! The water is fed up through the stones and "bubbles" out the top and over the rocks.
5. Fertilized the trees.
This is a no brainer, I've urged everyone to do this for the past few weeks. Lex figured out a quick trick to make this job go faster. You can use a drill with an auger attachment to drill the holes and place the fertilizer spikes in (we use Jobe's tree spikes). NO MORE BROKEN SPIKES!
6. Weeded and Dead-headed flowers.
TIP: If you keep your flowers dead-headed, they are more likely to re-bloom. Simply pinch off the spent bloom.
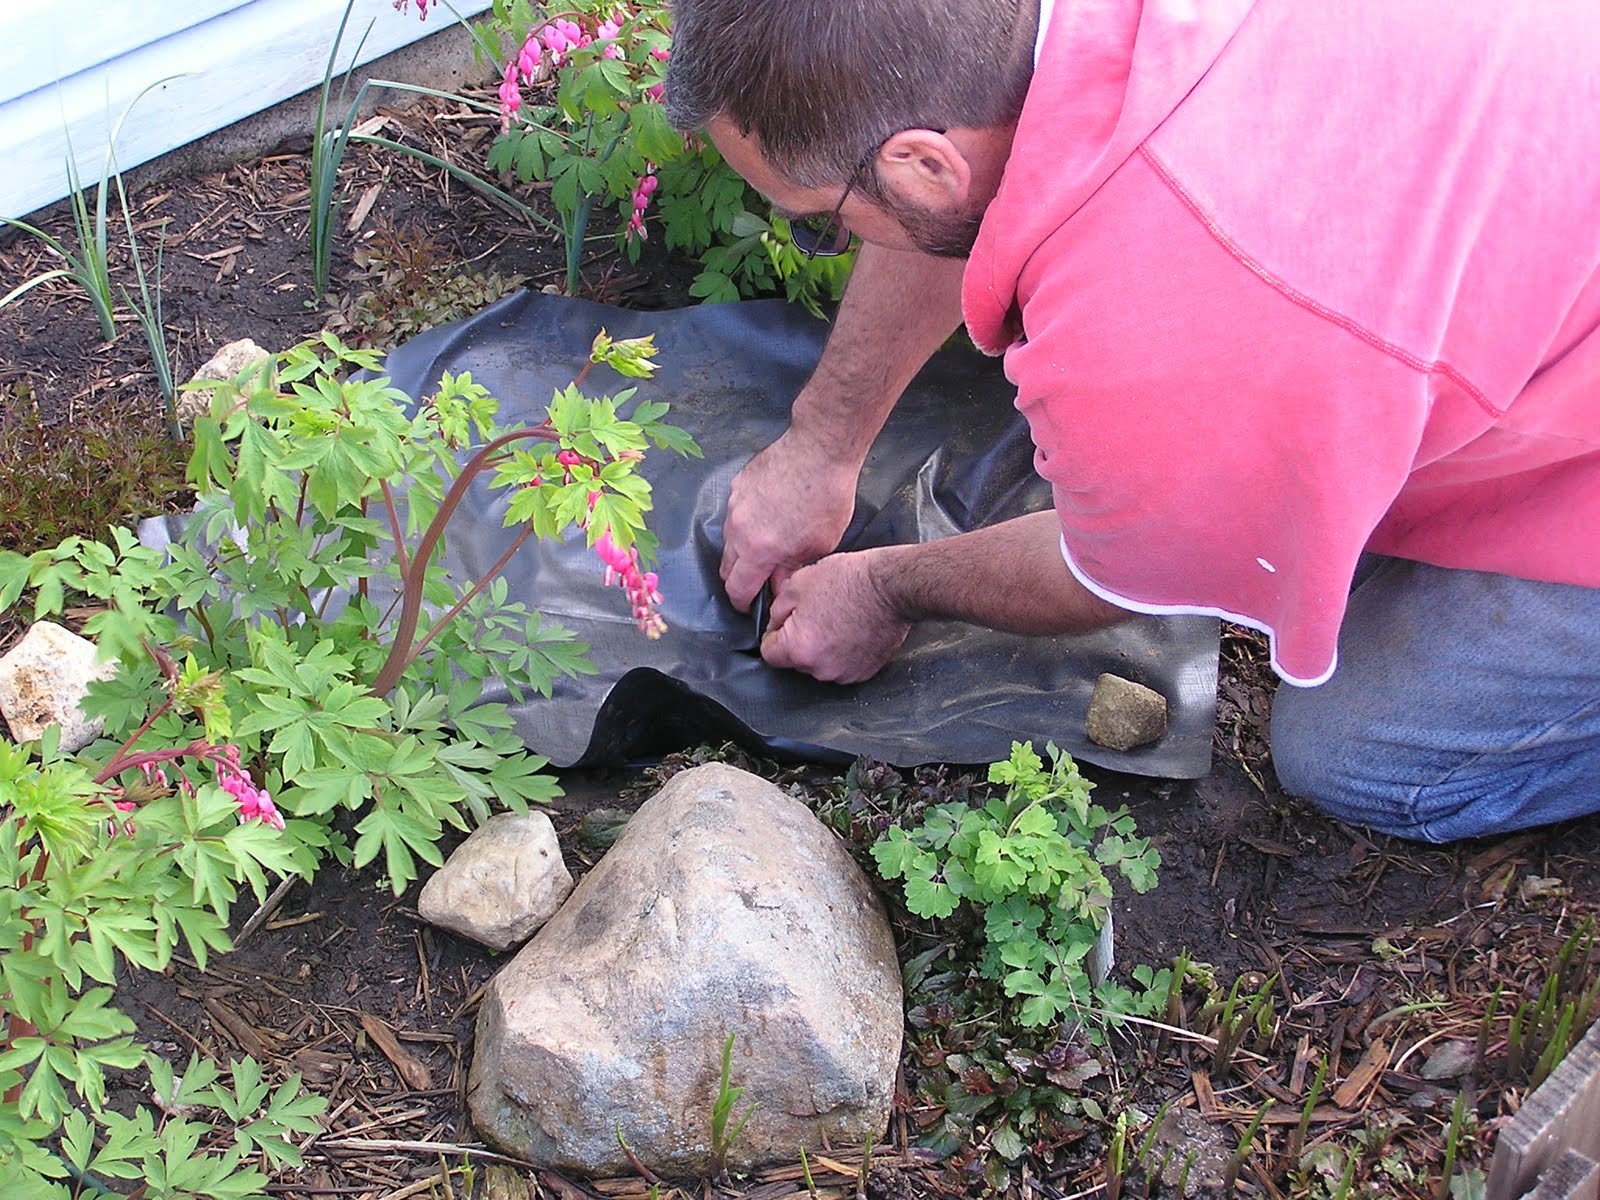
7. Planted creeping thyme in the front yard between the stepping stones.
Creeping thyme is a vigorous ground cover. I planted 6 today, but still need a few more for more immediate coverage. This should fill in nicely by the end of summer.
8. Blenderized moss.
Yes. You read that right.
Moss instantly gives items such as pots and rocks an established, weathered look. Both Lex and I enjoy the look of moss on rocks. It is supposed to be pretty mild and rainy this week, so we thought it would be a perfect time to try to grow some moss. We started by harvesting moss from our backyard. We put two handfuls of moss in the blender along with 1 quart of buttermilk.
NOTE: There are several variations of this recipe. You can use yogurt and manure in place of the buttermilk. Don't be too aggressive with the blender and puree it, instead use the "pulse" until it is blended. Once it was blended, we wandered around our property with the blender and paint brush splattering goo on rocks. This will work best on damp shady areas that are north facing. Once you have the goo on the rocks, make sure to keep it moist by misting it with a spray bottle.
 |
| moss smoothie anyone? |
 |
| To make it look natural, we put it on the undersides of rocks and in crevices. |
 |
| This is a north facing area under our pine tree (on the berm) that still needs to be planted. |
Tomorrow, we will give step-by-step instructions on how you can build your own fountain for about $5.