The "5-year" plan

When we moved into our house in 2005, we had agreed that it was a 5 year plan. In five years, the house would be painted and landscaped to our tastes. It would be done...

It's 2011.
The projects are never-ending, we have a dirt mound in our driveway the size of a suburban, It's dark out and we're still working... hit it.

Welcome to our journal about dirt, gardens and beer.

Saturday, April 23, 2011

A fun day in the garden

Lex couldn't help but snap a picture of our EMPTY driveway.  It is nice to see that the driveway is once again functional. It hasn't looked like this in four years.  Now that this sentimental moment is out of the way...it is time to move on to the walkway to the front yard. 


We started our path... by laying out the stones in an order and size that looked good.  After we had them layed out, we used some spray paint to outline around where each rock will sit.  After the outline was created, it was time to cut out the "circle" and dig out the sod.  After the holes were dug, Lex turned the soil with our mantis so that we could make the rocks lie flat.


 We then went back through and leveled out each rock and backfilled the hole around the stone.  This space around the stone will eventually fill in with grass.    We opted to leave the grass in between to maintain some of our lawn.  You could rip out a larger area/strip of grass, lay down stones and plant a ground cover in between them.  But for us, we felt it would be easier to maintain our yard if we could mow right over them.
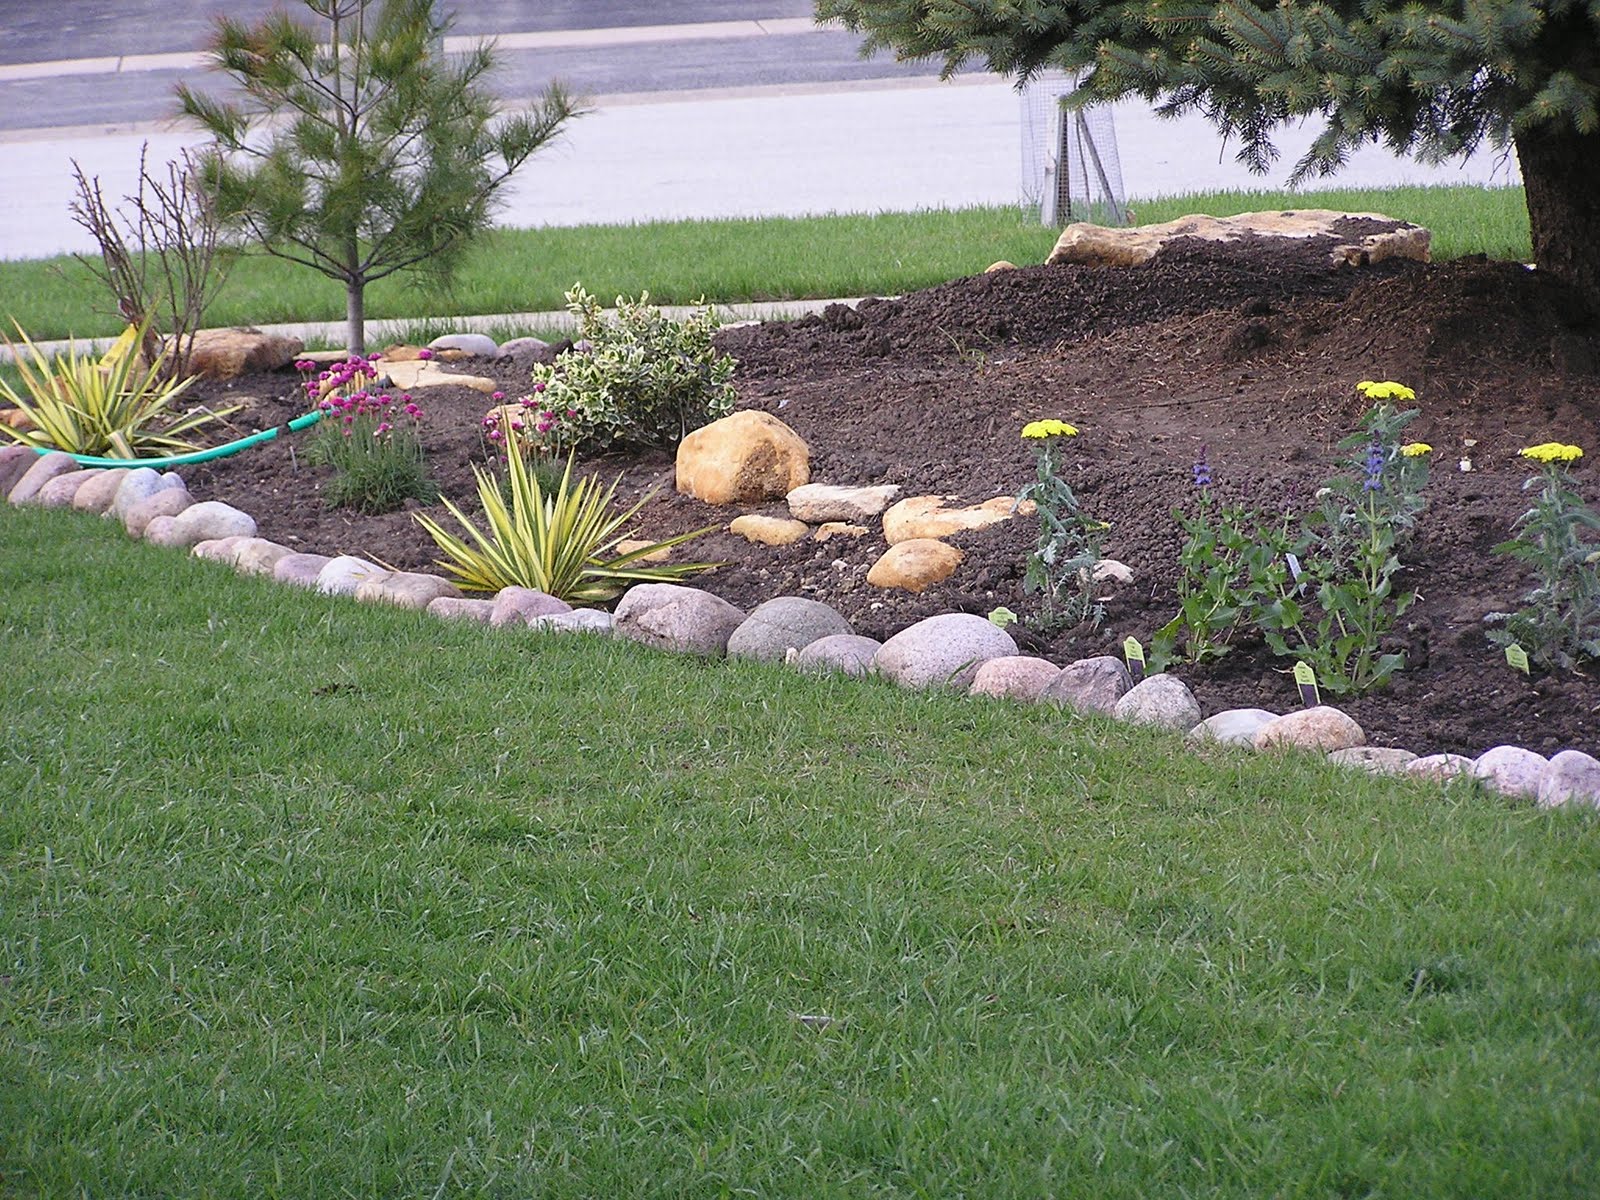
This is what the finished project looked like today.

   
The pathway extends all the way to the clean drive.
We also did some fun & quick finishing touch projects today.  I put this old barnwood bench in one of the front gardens.  It has a few stones leading up to it.  I figure I can put a pot of flowers on top of it.

 Remember last weekend when I mentioned that I had scored some cool items from Big Johns in Joliet...

We hung the windows today, and will get the doors in place tomorrow.  It should give the entryway an instant face lift 

On a side note, a complete stranger drove past our house today and stopped to compliment us.  She said that she drives past our house everyday and just wanted to tell us how nice it looked.  
 It is NICE to hear this, as we have never been that  house.  


For the past four years, we had the dirt mound and broken down suburban in our driveway.  

Tomorrow we will finish off the tree rings in the front, and hang the "side lights" on either side of our front door.

But for today, I will end this entry with a very cute picture of one of our resident birds.
When she got off their nest today, I couldn't help but sneak a peek.    There are at least 2 bright blue eggs in the nest.

Friday, April 22, 2011

Rain, rain GO AWAY.

Well doesn't that just stink.  It has rained all day.  We were not able to get out and play today; however, tomorrow is certainly looking more promising for us.


Since there are no fun pictures of plants or landscaping today, let's take this opportunity to discuss a much overlooked staple that every gardener...scratch that... every HOUSEHOLD should have.  

RAIN BARRELS.

It is always wise to plan ahead for the hot, dry months and conserve as much water as you can now.  Spring is the perfect time of year to fill your barrels!  Rain water can be collected by diverting house or garage gutters into rain barrels.  There are many types of rain barrels available from plastic to honest-to-god wooden barrels.  Wooden barrels are gorgeous in a garden setting, especially when combined with the use of a rain chain.  But beauty has a price.  Prices that I found online range from about $50 - $500.

Most towns, in an effort to "go green", offer rain barrels to residents at discounted prices.  Check with your city/town hall to see if they participate in any such programs.  A few years ago Plainfield started a similar program at which time we purchased two rain barrels. They sit at the back corner of our house, both near garden areas.  They are very useful come July/August when mother nature gives you thirsty plants and very little rain. 

Rain barrel set up is simple.  After you have your barrel in place (and have diverted water into the barrel), simply attach a hose to the bottom spigot or you can use a watering can.  They also make pressurized systems now so that the water actually has some "oomph" coming out of the hose.

We built a trellis in front of our air conditioning unit (and rain barrel) for aesthetic purposes.  During the summer/fall months, it is covered with sweet autumn clematis.  TIP:  Have you run out of gutters or only have room for one barrel?  Try connecting them.  Our two barrels are connected so that the lower barrel will collect any overflow from the top barrel. 

REMEMBER:  during the hot, dry summer months when most towns have water restrictions in place, you will still have a thriving garden when you use rain barrels.

Thursday, April 21, 2011

Walkways

After an exhausting work week, tomorrow brings a chance to "play" in our garden.  This weekend we will be installing a stone walkway from our driveway to our front door.

A key element in installing an attractive walkways is using materials that will blend with your yards existing decor.  In our case we will be using the large flagstones that we have rescued from the side of the road.
We will be using more of these flat flagstones to extend the walkway from this area to our driveway.  Eventually this will be filled in by creeping thyme.

You can see the use of similar rock in other landscape features on our property.  When possible use local stone/rock, it will give a more natural appearance.

This is the area that our pathway will go down toward our driveway on the left. 

 When using stone: Keep in mind that it will seldom crack when properly installed, but can shift so that your pathway becomes a tripping hazard to pedestrians.  So many homeowners enjoy using this natural material for pathways because of its good looks.  Let's face it...rock is beautiful.

Wednesday, April 20, 2011

Time to reflect in your garden

DESIGN TIP:  When used correctly, mirrors can visually extend a small area.  They can be framed with climbing plants or taller shrubs to soften their harsh edges.  Just make sure to use tempered glass so that is safe against the elements.  You can also coat the back of a mirror with varnish to help protect it.  Consider mounting it on a fence or wall to make your space seem larger, this is especially useful in shadier areas of your landscape/garden.

Tuesday, April 19, 2011

Dirt

What is soil?
 Imagine this...think of a stony outcrop.  Watch those rocks for several thousand years.  During this time they are effected by elements (rain & snow).  They freeze, they thaw and the wind will blow.  They begin to break down into smaller pieces of various sizes and textures.  As more time passes, plants begins to grow on these fine particles.  The plants lose their leaves in this pile.  Earthworms crawl through it, leaving organic matter behind.  The elements continue.  During this cycle, the rocks have broken down and turned into soil.  Pretty cool isn't it?  I learned this in school.

By definition, soil is the combination of weathered rocks and decaying plants.  There are four components of soil.  Mineral matter, organic matter, air and water.  About 45% of soil is sand, silt and clay.  There are equal parts of air and water... composed of about 25% each.  The remaining 5% is organic matter.

Plants need both air and water near their roots to survive.  This amount of pore space changes constantly.  Actual amounts of air and water will vary depending on how much water has been added to the soil by irrigation or rain.

Mineral matter can be further broken down by size.  Sand is the largest, silt is the next largest and clay is the smallest.  Soil texture refers to the amounts of each of the three particle sizes in soil samples.  This is important because particle sizes affect how much water your soil can hold, and how often you need to water or add fertilizers.

Why am I busting out this wealth of knowledge you ask?
First let me say that today... all I thought about, looked at and touched was dirt.
Second... I'd prefer to show you.
My momma helped me shovel everything into the big ol' dumpster today.

After an exhausting day of shoveling... we can finally say:


THE DIRT PILE IS GONE.

Monday, April 18, 2011

Landscape Lighting

Yesterday my mom and I went to Big Johns Flea Market (http://bigjohnsfleamarket.com) and scored some pretty awesome treasures.  I found some old windows that i plan on hanging from my front porch, an old mirrored door that I plan on using as sidelights/shutters on my front door and last but not least a old hanging light for our front porch.


One of my treasures I found yesterday.  It looks GREAT at night!


Outdoor lighting serves many purposes.  It increases safety as well as illuminates some key landscaping features.  When installing lighting, the first step is to go outside at night and look at what you see (and don't see).  Look at the areas where darkness creates unsafe conditions, as well as areas that you would like to highlight during the evening hours.

If your ultimate goal is to use landscape lighting to beautify your yard, here are some handy tips:
  1. Try placing a spot light mounted in a tree facing downward.  It will bathe the ground in soft light while creating shadows through tree limbs.  
  2. Use small spotlights to uplight features such as garden statues and trees.  Uplighting creates a certain drama.  If you have a pond or water feature, try illuminating the a nearby tree or shrub.  This light will reflect on the waters surface.
  3. You can use low area lights to highlight walkways.  Hide the fixtures from view with large leafed plants but don't block the light.  Hostas are great for this purpose (I've already stated how much I love these valuable plants).  
  4. Make sure the light is never shining in your eyes.  Angle them up or down so that they are adequately filtered through your foliage.
  5. Strings of lights installed in trees or shrubs can be used in conversation areas for added nighttime interest.  

Sunday, April 17, 2011

The Empress is on her way

The Empress is on her way home.  Today we purchased an empress wu hosta from better homes and gardens garden store (http://www.bhg.com/garden-store/).  She should be arriving in the next few weeks.  I have waited for her for about 6 months now.  We are so excited for her arrival!
Compliments of www.besthostas.com
HOSTAS.              

For those of you not familiar with this anchor of most gardens, please take a few moments to acquaint yourself.  Hostas are some of the most forgiving plants that you can invest in.  They are easy to grow, vigorous, and thrive in shade.   In fact, no shady garden is complete without hostas.  Hostas are primarily grown for their foliage, however some varieties do have fragrant flowers.

Hostas grow in zones 3-9, which means chances are YOU can grow this plant.  If you are not sure what your zone is... look at the bottom of our blog.  Most hosta are shade plants, however some types of hosta can tolerate part sun.  Hostas will thrive in just about any soil type that you have, provided it is well drained.  As a matter of fact, just a few years back we dug up a hosta from our yard and carelessly discarded it on our dirt mound.  It was spring, so it was just starting to grow, its leaves were just emerging from the soil.  It sat there on the mound uncovered for about 3 weeks; let me clarify.. NO DIRT COVERED ITS ROOTS.  Still, despite the neglect this little plant had the will to live... and grew.  Its leaves came in nicely! After seeing that this plant was a fighter, we found a home for it in our garden.  It was this little trooper that made me discover that I had a soft spot for hosta.

 Hostas require very little care.  They are relatively drought tolerant, however make sure that you keep any newbies watered.  Because they live in the shade, the ground stays pretty damp.  They do get hungry in the spring so make sure to fertilize; BUT NEVER FEED THEM AFTER MIDNIGHT.  My bad, I was thinking about gremlins not hosta.  Seriously, never fertilize hosta after midsummer or you can compromise their winter hardiness.

Slugs and snails are primarily the only pests that affect hosta.  They feed at night, leaving smooth-edged holes in the leaves.  If you find that they are a problem, you can collect them in shallow containers baited with beer.  Place these containers in the mulch between the plants, buried almost up to the rims.  The pests will go after the golden goodness, fall in (get drunk) and drown.  Ahhh, the power of beer.